

Hurrah! The warm weather has rolled around again (for us Australians)! I'm the type of person who gets cold very easily, so when it's warm enough for me to bust out the shorts then you know it's gotta be warm. We've had a couple of really warm days lately in Aus, which served as my inspiration for this post.
This is a super easy and relatively quick project, and it really pays off. There are a bunch of reasons why I enjoy making my own shorts, but my favourite one is that in doing so I can control exactly how much of my legs go on display. Haha.
I personally opt for longer lengths when browsing stores for shorts, but they are becoming increasingly difficult to find so it's good to know how to make my own. If you have this problem also, never fear! DIY shorts-making is here (yay)!
Caution: Once you've mastered this DIY, you might find yourself needlessly buying most printed fabric you see because 'wow, that would make such a cute pair of shorts!'
This is a dangerous road to go down. You have been warned.
Anyway, let's give it a go! :)

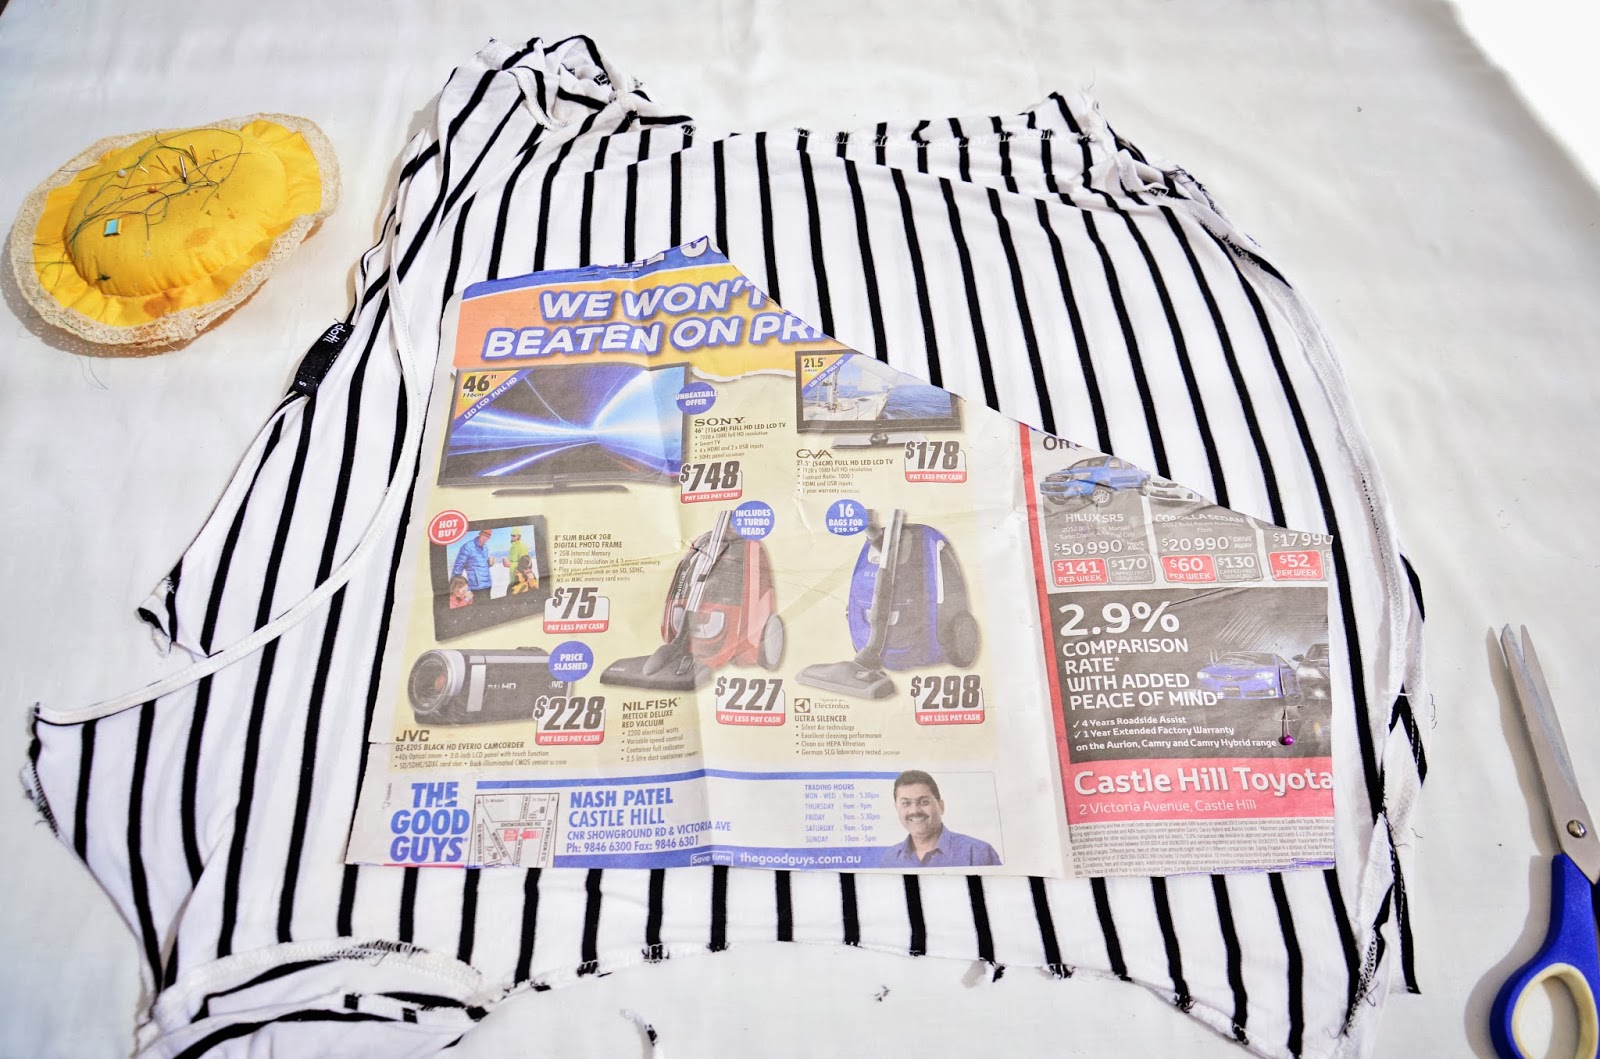
Gather your supplies as above.
One other thing it's good to have for this project is a pair of regular scissors (to use for cutting your newspaper). Cutting paper with fabric scissors can make your scissors blunt quite quickly, so it's generally good to avoid doing so.
SUPER IMPORTANT: Make sure that the fabric you choose is a stretch fabric. This tutorial is quick and easy only because I've used stretch fabric, which adapts easily to your body so you don't have to be exact with measurements. If you use a non-stretch fabric you'll probably find you need to cut your pattern a little bigger and create an elastic waistband (or insert a zip -eek!), which is something you can do if you're a more experienced sewer - but not something that I'll be covering in this post!

Alright, first step! Get your pair of shorts (the ones that fit you well or are your favourite) and fold them along the seams until you have a similar shape to that in the picture above.
Next, lay the folded shorts on top of a piece of newspaper and trace around the outside of the shape.

The next step is to cut out the traced shape so it looks like the above picture. This newspaper shape is called your pattern. And it's the only pattern piece you need for this project, yay! Your end result will basically be four of these sections sewn together.
To give you a bit of an idea of how it will work when it's sewn, I've labelled each side!

Okay! Next part. Grab the stretch fabric that you want to use to make your brand new shorts. I'm upcycling an old top that I probably wouldn't have worn again. You can see it on the left, as well as a lovely old selfie of me with bright red hair, haha.
For my shorts, I'm going to combine the striped fabric and some regular white stretch fabric to create a two-toned effect. One leg of my shorts will be striped and one will be plain white.
Fold your fabric in half (so you only have to cut it once) and place your newspaper pattern on top. Then cut around the newspaper! You may like to pin the pattern in place so you get a precise cut without the pattern moving.

You should now have two pieces of fabric that look like the above picture! Mine are stacked on top of each other.
I folded the striped fabric in half before cutting it out because I wanted two copies of the pattern, and I only needed two because I'm making two-toned shorts. If you want your shorts to be one colour, fold your fabric in quarters before cutting (so you get four shapes - even quicker!) and ignore the next step.

Next, I did the same thing with my plain white stretch fabric - cutting out two shapes from my newspaper pattern.

Yay, two white pieces!

At this point I'm just laying out two of my four pieces next to each other to show you what the shorts will look like!

Next step! Lay two of your pieces out on top of each other (right sides together facing inwards). You're going to sew along the curved edge of your piece, where the arrow is.

When sewing stretch fabric, use either a zig-zag stitch or a straight stitch at a medium length (2.5 - 3mm). If you use a straight stitch, stretch the fabric gently from either side as you feed it through the machine. This gives the fabric room to move when you stretch it naturally while putting it on / wearing it. If you don't stretch the fabric while sewing it you run the risk of snapping your stitches when you stretch the shorts to put them on.

Now that you've sewn your pieces together, this is what you'll have!
Now just repeat the exact same thing with your other two pieces, sewing them right sides together like before.

Now you'll have two sections like above!
Place them gently on top of each other, right sides together facing inwards again. Know what we're going to do next? Yep, that's right... we're gonna sew those side seams!
Sew your two sections together along the side edges, as indicated in the picture above. Also sew along the inner thigh edge as marked.

You should have something that resembles shorts now! We're almost done, but we want these to look legit so we're going to hem them. Make sure your shorts are inside out, then fold about a centimetre up (where it's marked in the picture) and sew along the bottom two edges.
Do the same thing for the top of the shorts, where your waist / hips will be.


On the left is what sewing a hem looks like (you can see the fabric is turned up along the edge and I'm sewing down the line).
On the right is what a sewn hem looks like!
Note: Usually you'd fold the fabric over itself once more at the hem before stitching, to avoid having a raw edge which can fray. However with most stretch fabrics it's not absolutely necessary to create a hem, since they don't usually fray at the edges easily. So if you're intimidated by hemming, don't worry too much!
Once that step is done, your shorts are ready to be worn! :)
The next few steps are optional extras - I just added them for a bit of character to my shorts.


I wanted to create room for a belt so I cut a few lengths of ribbon to run 'round the waist area of my shorts. I sewed them on by hand, folding the ends underneath themselves and stitching them to the shorts.

There you have it! Another day, another DIY!
I hope you've enjoyed this one and that you've been inspired to make your own shorts!

Here is the finished product. I'm happy with how it turned out, though the striped bits are a little see-through so I may need to line them.
There are so many ways to customise this project, which I love. Below are a few other pairs of shorts I've made with this pattern - the sky's the limit! And the best part is once you have the newspaper pattern you can keep it and re-use it over and over again.
Please please please let me know if you try this project (or any of my other DIY projects!). This one has mega potential for some creative responses because it's so simple, so do give it a go!
My next post will be about how to make the green top I'm wearing in these photos - a top and shorts combo like this is perfect for the warmer months! Stay tuned for that post :)
Until then...


(y)
ReplyDeleteLol Josho. Tell Jenna about the shorts you made :p
ReplyDeleteI absolutely love this! I'm totally new to sewing, but upon discovering your blog I've been inspired to try...will let you know when I give it a go :)
ReplyDeleteThat is so awesome to hear / read and makes posting worthwhile! I would love to see the results!! Thanks Jessie and good luck with sewing - it's a wonderful hobby! :)
Delete