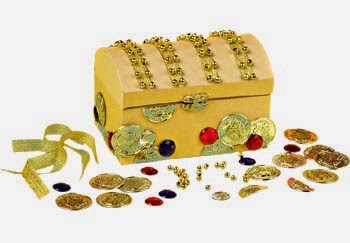
This little side project came about when I found a paper mache treasure chest in my local craft store.
My brother's birthday was coming up, and he loves the Legend of Zelda series (who doesn't?) so I thought it would be fun to paint the chest Zelda-style. Instead of wrapping his present, I thought I'd just put it in the chest - and then he could keep it for storage afterwards :)
 |
| Which one to make? Hmm... |
First I had to decide what kind of chest to paint, as there are a few in the Zelda series (see above!). I decided to go with the standard boss key chest design from Ocarina of Time (with a couple of modifications) because I had already made a normal wooden Zelda chest for one of my brother's previous birthdays, haha.
I first painted the chest white so the blue would be nice and bright. I then painted the whole thing blue.
Using gold spray paint (sprayed into a bowl and applied with a paintbrush) I painted the details!
In order to get them right, I googled images of the chest and copied the design in gold.
I added some circular rhinestones as studs down the sides, and one on the front clasp. Then I painted them gold to match the frame.
Ta-dah! :)
To finish, I sprayed the inside of the chest gold and left it all to dry overnight.
I also made the dodgiest-looking boss key ever out of a clothes hanger and some fabric, but I won't include that here. Haha.
Happy birthday Cameron! :)
Note: If you're interested in painting a treasure chest there are so many cool ideas on google. Here are two of my favourites (great for storage of trinkets / DIY supplies / jewellery / stationery etc!):
...& here are a few snaps from our family birthday dinner with Cam in the city! :)


0 comments:
Post a Comment